Tools · watering
Choosing a Watering Can for Containers
Choose a can by filled weight, reach and flow: a narrow spout serves established pots, while a fine rose protects seedlings and loose potting mix.
Published Last updated
In this guide
- Start with the route and the containers
- Fit filling and staging into the same decision
- Choose by filled weight and balance
- Fit the outlet to the work
- Use a removable rose where the surface is vulnerable
- Run a five-minute flow and stop test
- Let the container decide when the can is used
- Recognize when another delivery method fits better
- Write down the complete carrying-and-pouring test
- Tool notes
Start with the route and the containers
Choose a watering can for the trip between the water source and the pots, not for the largest capacity on the shelf. Count the containers in one practical round, note stairs and narrow passages, and identify the plants that are hard to reach. The useful can is the one that carries a controllable load through that route and places water on the potting mix.
Container groups create different demands. A windowsill of seedlings needs gentle distribution over a small surface, while established patio pots need a stream that can pass beneath foliage. Hanging baskets, railing planters, deep pots, and containers behind other plants add reach problems. List the awkward targets before comparing spout length, rose design, handles, or volume.
The water source is part of the fit. Check that the can body and fill opening will sit beneath the faucet or stored-water outlet, and leave room to remove it without tipping. A large opening makes filling and inspection easier, but the can still has to clear the sink, barrel, or tap that supplies it.
Estimate a useful round by observation rather than assuming one fill must serve every pot. Containers vary in size, material, plant growth, weather exposure, and dryness, so their water needs will not stay equal. A smaller controlled load with a planned refill can be more workable than carrying unused water through the entire route.
Fit filling and staging into the same decision
Test the can at the actual water source before treating a comfortable pour as proof of fit. A stored-water tap may sit low over its support, an indoor faucet may have a shallow basin beneath it, and an outdoor spigot may leave the can resting on uneven ground. The body must enter, fill, and leave that space without scraping the outlet or requiring a full vessel to be twisted sideways.
Look through the fill opening and consider how easily the interior and water level can be seen. The opening should allow the intended source to enter without repeated splashing, while the body shape should leave enough headroom for carrying and tipping. Filling to the brim wastes control if water escapes from the top before the spout reaches its working angle.
Choose a stable place to set the can during the round. A flat resting surface near the pots allows the load to be divided without leaving the spout across a path. If the route has no secure staging point, carrying less water or using a second small can may reduce repeated long reaches and awkward floor-level pickups.
Stored rainwater can work well with a can that fits beneath the outlet, while a distant or inaccessible source may make repeated refills the dominant burden. Compare that burden with the precision gained at the pots. The fill arrangement, carrying route, and target reach form one system; a can that excels at only one stage can still be the wrong tool for the whole job.
Choose by filled weight and balance
For container work, select the smallest can that completes a useful round while remaining easy to lift, carry, tip, and stop when full. Capacity matters only when the load remains controlled. A can that forces the shoulder upward, twists the wrist, or keeps pouring during recovery is too demanding for precise work even if it reduces refills.
Compare cans with the same amount of water in them because an empty shell hides the working load. Lift from the fill point, walk the intended distance, reach across a representative pot, pour briefly, and return the can upright. This sequence exposes a pinching rear handle, an unstable body, or a grip that becomes awkward as water shifts forward.
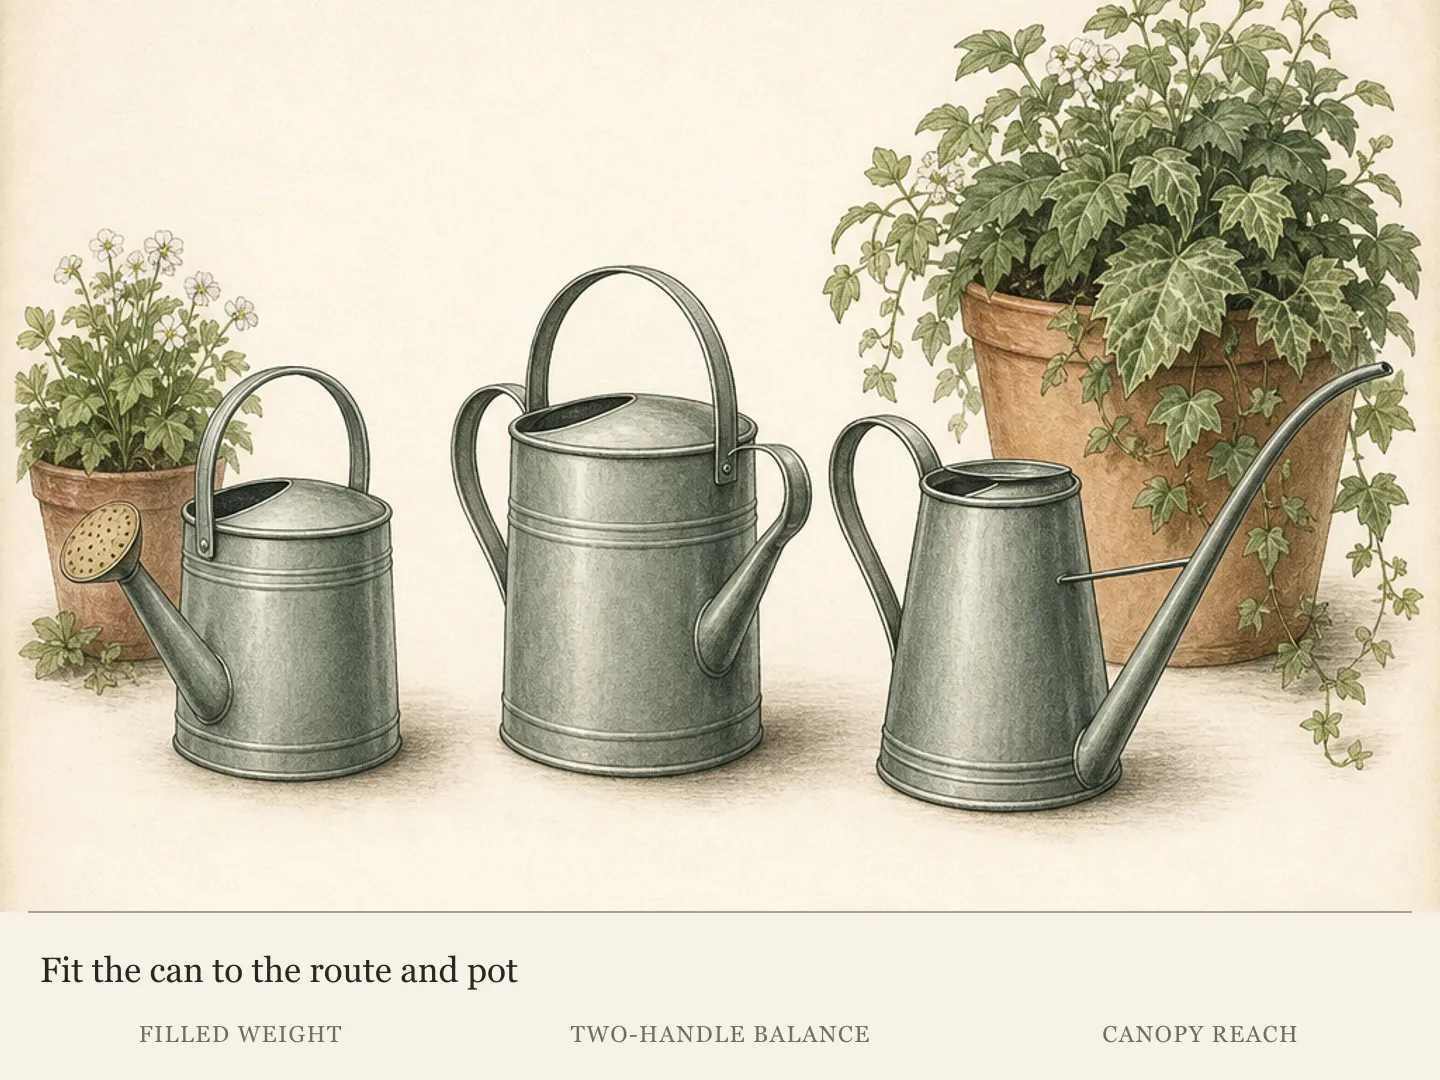
Two handles can divide the job between carrying and pouring. The top or rear grip supports transport, while a second grip can guide the body as the water level changes. Handle shape still needs to suit the user's hand and route; a second handle adds little when it cannot be reached comfortably at the angle required by the target pot.
Notice control at the end of a pour. The remaining water changes the can's balance, so a model that feels steady when full may become nose-heavy or awkward near empty. A good fit allows the user to stop the stream and recover the can without a sudden wrist correction, contact with foliage, or water spilling from the fill opening.
Fit the outlet to the work
A long, narrow spout helps reach the potting mix beneath a mature canopy. It places the stream at the plant base while reducing contact with leaves, flowers, and neighboring containers. The useful length is the one that reaches the far side of a representative pot without making the user lift the can above a comfortable working height.
Spout position affects both reach and response. Watch where the stream begins as the can tips and how quickly it stops when the body returns upright. A delayed start can encourage over-tipping, followed by a surge; a spout that drains after recovery can leave water on a deck, foliage, or the next pot in the row.
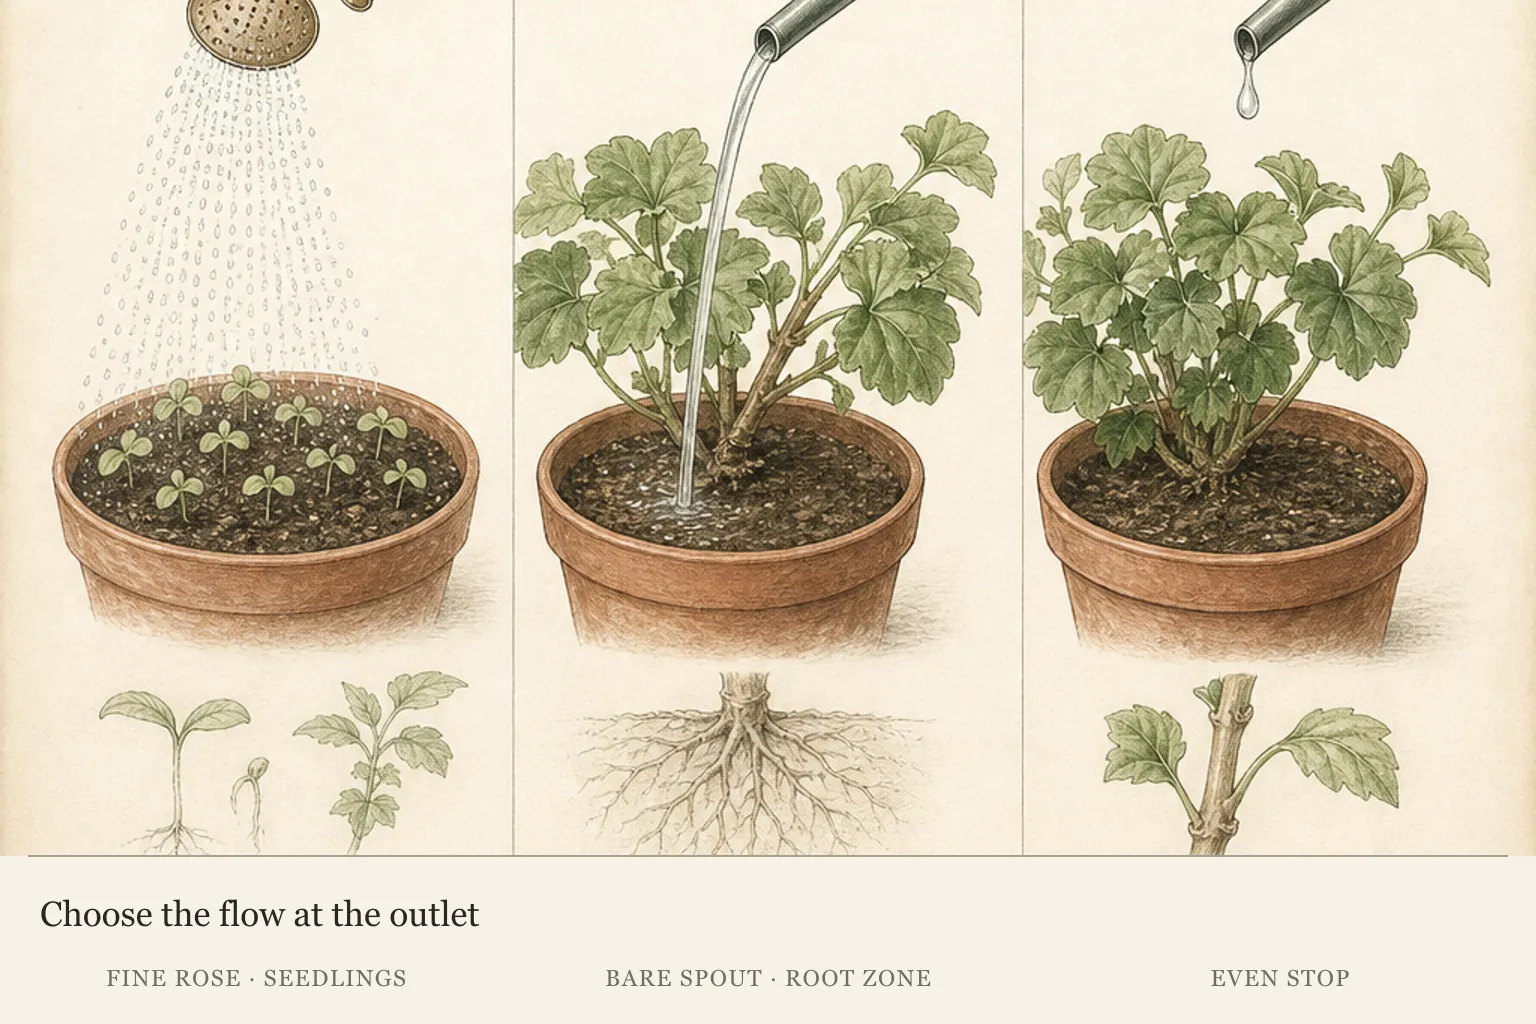
Match outlet width and flow to the container opening. A narrow target between stems calls for controlled placement, while a broad bare surface can accept a wider pass. The goal is to re-moisten the potting mix without sending it over the rim, carving a channel, or directing most of the water onto leaves where it may never reach the roots.
Reach also determines whether the can is viable around railings and dense groupings. Test the body as well as the spout: a long outlet does not help if the can itself collides with the barrier before the tip reaches the soil. Repositioning the pots may solve a route problem that no larger can can handle comfortably.
Use a removable rose where the surface is vulnerable
A rose divides one stream into many gentler droplets. That lower-impact pattern suits germinated seedlings, newly sown surfaces, young plants with tender stems, and loose potting mix that a forceful stream could crater or wash from the container. The rose should wet the surface without producing a hard central jet that defeats its purpose.
Established containers often benefit from the precision of a bare spout directed at the potting mix near the plant base. A removable rose lets one can shift between these jobs. Check how securely it attaches, whether it can be removed with wet hands, and whether its watering face can be oriented consistently during a normal pour.
A fine pattern is not automatically a complete watering. Gentle droplets can protect the surface while still requiring enough volume to re-moisten the container. Watch the potting mix and drainage response, since the plant's need is determined by moisture below the surface and the container's condition, not by how delicate the spray looks.
Small rose holes are more sensitive to residue and debris than an open spout. Inspect the pattern before using it over seedlings. Missing sectors, sideways jets, or a concentrated center indicate blockage or a poor fit; clean and retest over an empty pot before trusting the attachment above vulnerable plants.
Run a five-minute flow and stop test
Fill the can to the level you expect to carry and pour into an empty nursery pot. Observe how far the body must tip before flow begins, whether the stream pulses, and where the water lands as the can becomes lighter. The empty pot reveals control without turning the product trial into an irrigation decision for a live plant.
Stop midway and bring the body upright at the speed you would use beside foliage. A clean stop keeps the next plant, floor, and pathway dry. Continued dribbling may come from water held in the spout or rose; decide whether that behavior is manageable on the intended route before treating it as a minor annoyance.
Test the rose and bare spout separately. Droplets from the rose should spread without a forceful center that moves loose mix, while the open spout should reach a root-zone target without surging over the rim. Rotate or reseat a removable rose only according to its design, then repeat the test to confirm that the pattern remains stable.
Finish by walking the normal route with the remaining water. Check clearance at doors, railings, and plant groups, then set the can down where it will be filled or stored. This final pass often reveals that body width, handle position, or residual drips matter more in daily use than the capacity printed on the can.
Let the container decide when the can is used
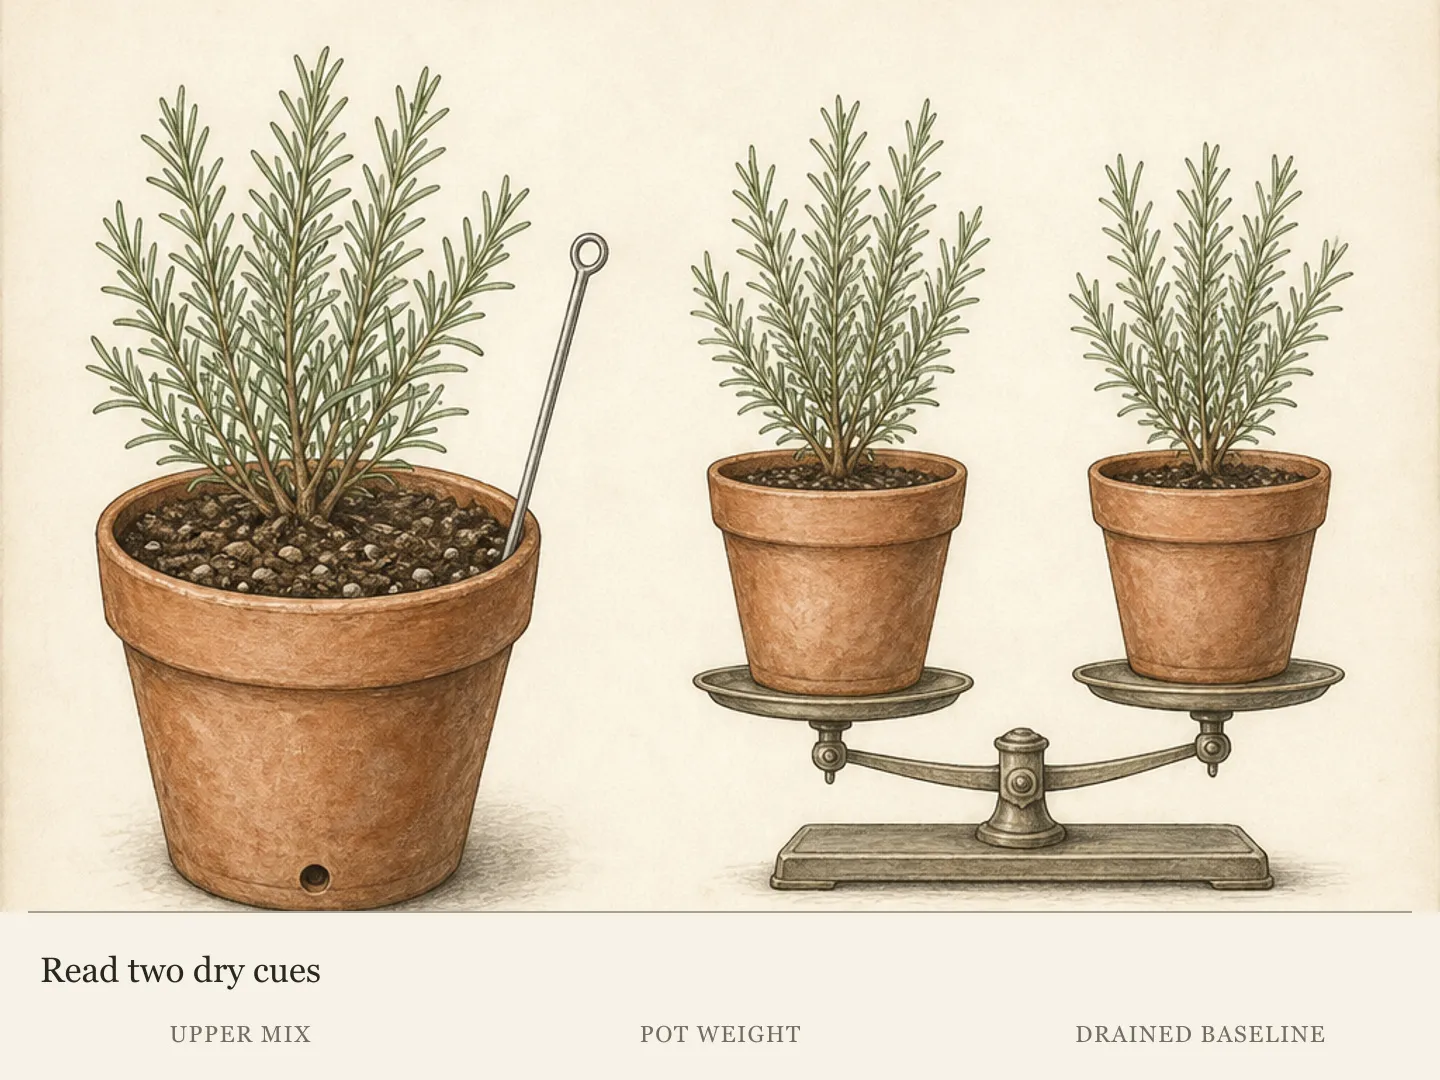
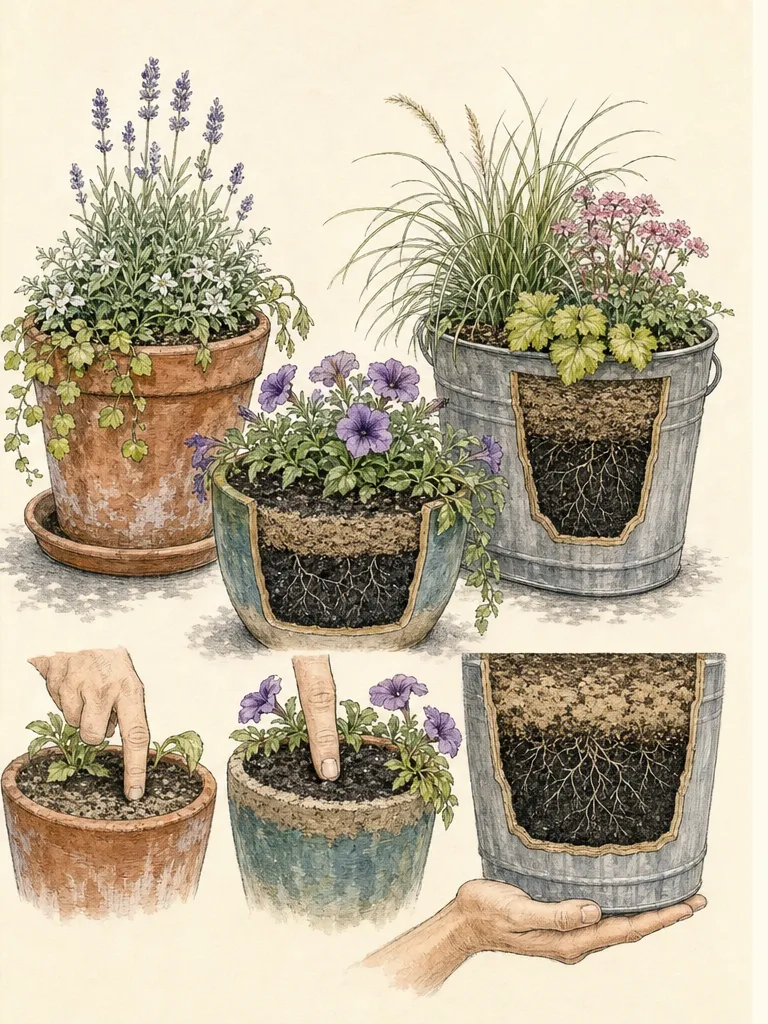
A well-fitted can improves placement, but it does not determine watering timing. Feel the potting mix below the surface or use the established weight of a lightweight container to judge moisture before pouring. Wilting alone is ambiguous because plants can wilt in both dry and overly wet conditions.
Direct water to the potting mix at the plant base and apply enough to re-moisten the container. Free drainage from the bottom holes, or from the overflow of a self-watering design, shows that water moved through the system. Empty detachable saucers as needed so collected water does not remain available to wick back into the pot.
Very dry potting mix may shrink from the container wall. Water can then race through the gap and leave the root zone incompletely moistened even though drainage appears immediately. A controllable can helps apply repeated, measured passes, but the observation to follow is rehydrated mix rather than the speed of the first runoff.
Keep the outlet near the soil surface where possible. Pouring from height increases impact and makes a narrow stream harder to place. If the only way to reach a pot is to raise a heavy can above the shoulder or lean beyond stable footing, change the route, move the container, reduce the load, or use another delivery method.
Recognize when another delivery method fits better
A watering can offers visible, precise application, yet repeated carrying becomes inefficient across a long row of large planters. Count the refills and observe fatigue before purchasing a larger version. More capacity adds weight at the exact moment the tool must be lifted, carried, tipped, and stopped near plants and hard surfaces.
A hose with a shutoff wand can serve a larger area or reduce carrying when the route and water source permit it. Drip lines or another directed system may suit repeated watering across many containers. These options still need root-zone placement and moisture checks; changing the delivery tool does not justify watering on an automatic schedule without observing the pots.
Keep the can for seedlings, newly sown surfaces, awkward corners, individual dry pots, and places where a hose cannot move safely. If one can cannot serve both delicate and established containers, a removable rose or two deliberately different tools may be more functional than one oversized compromise.
Reassess the choice after the container group changes. Mature canopies alter reach, added pots lengthen the route, and a new water source may change how the can fills. The correct checkpoint is continued control through the whole cycle: fill, carry, aim, pour, stop, and return without strain, surface disturbance, or avoidable spills.
Write down the complete carrying-and-pouring test
Compare each can by usable filled volume, loaded balance, filling clearance, carrying route, spout reach, rose fitted or removed, surface disturbance, stopping drips and storage. Record the same sequence each time: fill, carry, aim, pour, stop and return. Choose the manageable complete cycle; extra capacity is not a benefit if it creates strain, missed containers or repeated spills along the route.
Tool notes
- Type
- Watering can with removable rose
- Purpose
- Carry a manageable volume along the actual container route, place water at potting-mix level beneath established foliage, and switch to a gentler removable rose for seedlings, newly sown surfaces, and loose mix.
- Affiliate
- No commercial links
Maintenance
- After use, empty remaining water and rinse the body, spout, and removable rose. Swirl clean water through the can and pour through each outlet so residue and small debris do not remain in the flow path.
- Inspect the rose pattern over an empty pot. Clear blocked holes gently without enlarging or reshaping them, reseat the attachment, and retest until the droplets spread evenly without a forceful central stream.
- Check the bare spout for delayed flow, pulsing, or continued drips after the can returns upright. Remove accessible debris without damaging the outlet, then repeat the filled-level stop test before carrying the tool among dense foliage.
- Wash the fill opening and interior where sediment collects, especially when stored water is used. Use access provided by the can's design and avoid tools that could puncture, scratch, or distort the body.
- Dry the can and store it drained in a position that does not load the spout or handles. Keep a removable rose with the tool so it is protected from crushing and can be found before the next seedling session.
- Examine handle attachments, seams, the base, spout joint, and rose connection at the start of the season and after an impact. Retire or repair the can according to its material and manufacturer guidance when a leak or structural defect compromises control.
- Repeat the route and flow check when the container arrangement changes. A sound can may no longer fit after plants fill out, pots move behind railings, or the watering source changes height, and maintenance includes recognizing that loss of fit.
Plants in this guide
Related reading
Sources
- Growing Vegetables in Containers and Salad Tables. University of Maryland Extension. Source record · Accessed 2026-08-16.
- Garden Watering Methods. Royal Horticultural Society. Source record · Accessed 2026-08-16.
- A Guide to Watering Plants. RHS Campaign for School Gardening. Source record · Accessed 2026-08-16.